
I fell across this image whilst walking back too Oxford Road train station, there were foreign protesters, protesting against war and rape in Iraq. Although being pleased with this overall photo, I wanted to test myself and try too edit out the boy behind the flag. I am a strong believer of not editing photographs too much, the most I do is change the tones and lighting slightly. However, I thought it best too learn more about photoshop for future reference.
Sadly I didn't print screen my steps, therefore I will try and take you through it step by step, the best I can. The main tool I used is the clone tool, it allows you too select the object next too it and clone it exactly the same, which keep the colouring correct. When you select the tool, hold 'alt' and then select the target, (the brick next too it) and then paint it over the subject piece by piece until your happy that the colouring and brickwork look okay. Then, use the burn tool to add more depth to the colouring to make the lighter patches darker, so it stays nice and contrasted. In this case the brickwork just looks dusty, if it were a colour photo it wouldn't have been as easy. This took my a while to figure out and I used some advice off friends who know the programme better.
Here is the final edited image, granted it isn't the most spectacular editing skills, but it turned out better than expected considering I struggle with Photoshop:

I have been researching into various photoshop classes and tutorials you can pick up from the internet. From researching I came across a website called 'Photoshop Tutorials'. It has many different links too chose from depending on what kind of level of editing skills you are at the current time, they vary from "basics" too "photo manipulation". For an example, I chose the 'Photo Manipulation' which takes you through step by step on how to create a 'chilling abstract'.
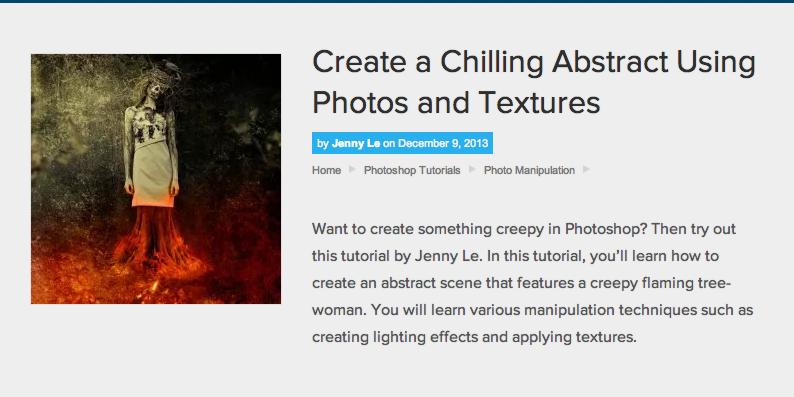
As you can see from the image below, it explains well the direct steps too create such a photograph, its a very useful and appears too be free too use to the general public:

http://www.photoshoptutorials.ws/
There are also various different videos on youtube that show you how to use different effects properly and effectively.

No comments:
Post a Comment